
Use ChatGPT to handle the work you repeat: explaining your project, reading documents, researching options, and turning notes into finished files.
This guide shows you how to use five practical workflows:
- Memory
- Screenshots
- File Analysis
- Deep Research
- Work
Each section includes setup steps and prompts you can copy.
Replace every [bracketed field] with your own information before sending a prompt.
Your time savings will depend on your tasks and the review they need. Use the tracker near the end to measure your results.
Before You Start
Astra is a model you can select in ChatGPT when it is available to your account. Work is a mode for completing tasks across files and supported tools.
Memory, image inputs, file analysis, and research are ChatGPT capabilities. They are not exclusive to Astra.
For a quick question, start in Chat. For a task that needs research, several steps, or a finished file, start in Work.
To use Astra in Work, open the model control below the message box and select it if available. Menus and access can vary by account, app, and workspace.
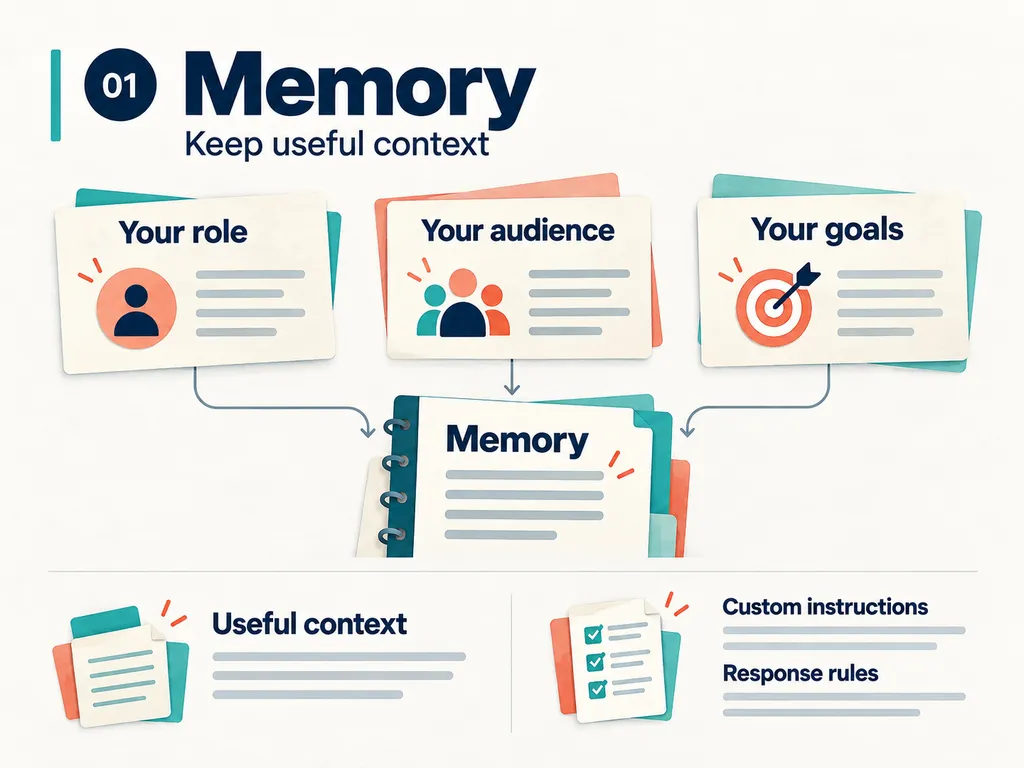
1. Memory: Stop Explaining Your Business Again
If you keep typing your role, audience, and goals at the start of every conversation, give ChatGPT that background once.
Use Memory for useful context. Use Custom instructions for the response rules you want followed across chats.
Set It Up
- Open Settings > Personalization.
- Review the Memory controls available to your account.
- Enable the option you want.
- Send the memory brief below.
- Add your response preferences to Custom instructions.
Prompt 1: Save Your Background
Remember this stable context if Memory is available:

My role: [role]
My online business or project: [business or project]
My audience: [audience]
My goal: [goal]

Only use the details I supplied. Tell me if this cannot be saved as memory.
For example, your audience might be beginners who want to create content and sell digital products. Your project might be a newsletter, an online course, or a small service business.
Use your real details.
Prompt 2: Set Your Response Preferences
Add this to your Custom instructions:
Give me the answer first, then the steps.
Use plain English and short paragraphs.
Adapt examples to my audience and project.
Do not invent facts, numbers, or personal experience.
Ask a question only when missing information changes the result.
For current claims, check sources and show the links.
Check the Result
Review the stored context in your memory settings.
Then open a fresh chat and ask for ideas for your audience. If important context is missing, paste your brief into that task.
Memory helps with recall. For a specific assignment, still provide the details that determine the result.
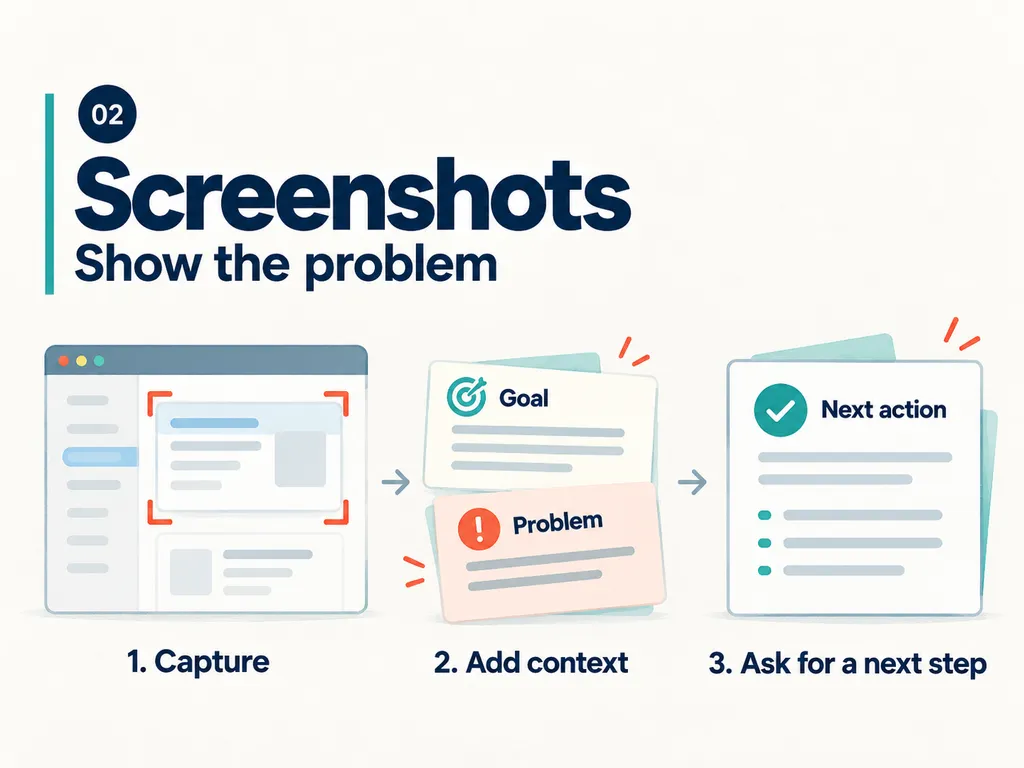
2. Screenshots: Show the Problem
When a website, app, or settings screen is confusing, a screenshot can give ChatGPT the visual context it needs.
Add a short explanation of what you are trying to do.
Use It
- Capture the relevant screen.
- Crop to the area that matters.
- Hide passwords and private information.
- Paste or attach the image in ChatGPT.
- Explain your goal and where you are stuck.
Windows: Press Win + Shift + S.
Mac: Press Shift + Command + 4.
Prompt 3: Get Help with a Screenshot
This screenshot shows [app or website].

I am trying to [goal], but [problem].

Inspect [area or message]. Explain the likely cause in plain English.

Give me the first action to try and the result I should see.

If the image does not show enough information, tell me what is missing.
Example
Suppose your website’s email signup form shows an error.
Attach the screenshot and write:
I want visitors to join my email list. The form shows this error after I click Submit. What should I check first?
Try the suggested action. If it fails, attach the new result in the same chat.
A screenshot may suggest a cause without proving it. If the text is too small to read, paste the exact error message as well.
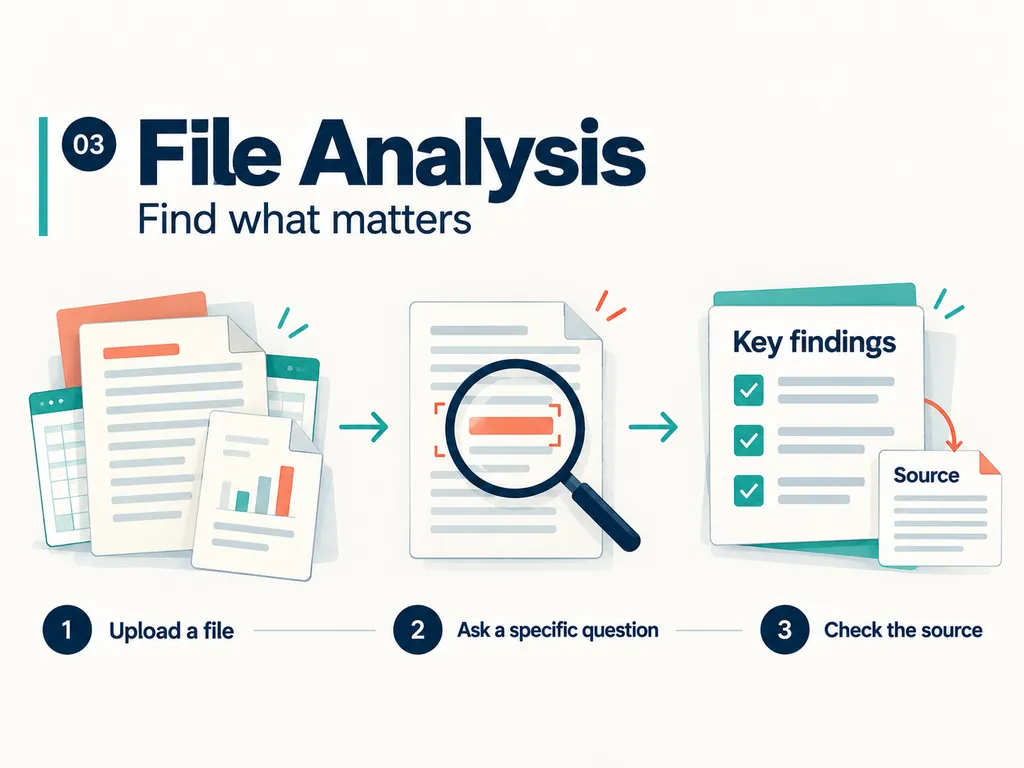
3. File Analysis: Find the Information You Need
Upload a document or spreadsheet and explain what you need to decide.
A specific question gives ChatGPT a useful job.
For example:
Read these customer questions and identify the topics I should cover in my next three posts.
Use It
- Attach the relevant file.
- State your question or decision.
- Ask for source locations.
- Check the important findings against the original.
Prompt 4: Analyze a Document
Read the attached [file name].

I need to decide [decision] for [audience or project].

Return the 5 most useful findings and 3 next actions.

For each finding, include a page, heading, or sheet and cell reference where available.

Keep facts separate from your suggestions.

Flag unreadable sections and missing information. Do not fill gaps with guesses.
Prompt 5: Compare Two Files
Attach both versions and identify which one is older.
Compare [old file name] with [new file name].

Use a table with:
- Section or field
- Old value
- New value
- Why the change matters for [decision]

Keep the original numbers, dates, and names.

Include source locations where available. Mark anything you cannot verify.
You can use this to compare content drafts, product specifications, or two versions of a proposal.
Prompt 6: Review a Spreadsheet
Analyze the attached spreadsheet for [question].

First identify the relevant sheet, columns, date range, units, and missing values.

Then calculate [metric] and show the method.

Return a summary and a table I can check against the source.

Explain any assumptions before using them.
Check the Result
Verify the key numbers, names, dates, and source references.
If a scanned page is unreadable, provide a clearer copy. Upload only material you are allowed to share.
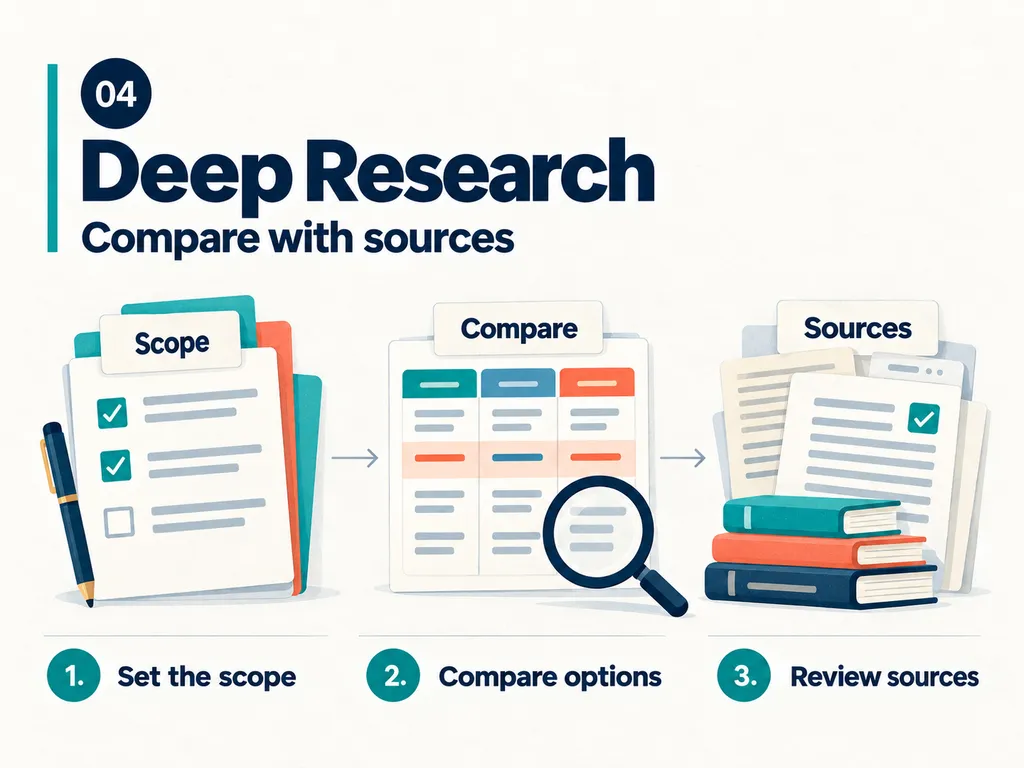
4. Deep Research: Compare Options with Sources
Use Deep Research when a question needs investigation across several sources.
It is useful for tasks such as comparing tools, researching a market, or checking the evidence behind a content topic.
Define the question, scope, and comparison criteria before you start.
Open Deep Research
On the web:
- Start a chat in Work.
- Open the + menu.
- Select Deep research, if available.
On desktop:
- Switch to Work.
- Open Plugins.
- Select Deep research.
- Install or enable it if needed.
- Select Try now.
Prompt 7: Research a Decision
Research [specific question] for [audience or business].

Scope:
- Country or market: [country or market]
- Date range: [date range]
- Maximum number of options: [number]

Prioritize official documentation and original sources.

Compare [criteria] in one table. Include source links and the dates of time-sensitive information.

Separate confirmed facts, your judgment, and unknowns.

End with a recommendation based on my constraints: [budget, time, or skills].

Tell me if key sources could not be accessed.
Example
You want to choose a newsletter tool for selling digital products.
Ask ChatGPT to compare three options using your actual budget, country, list size, and required features.
Request current official pricing and limitations.
After the report is ready, open the sources behind the details that affect your decision. Check the pricing, restrictions, and dates.
For a single current fact, ordinary web search may be enough.
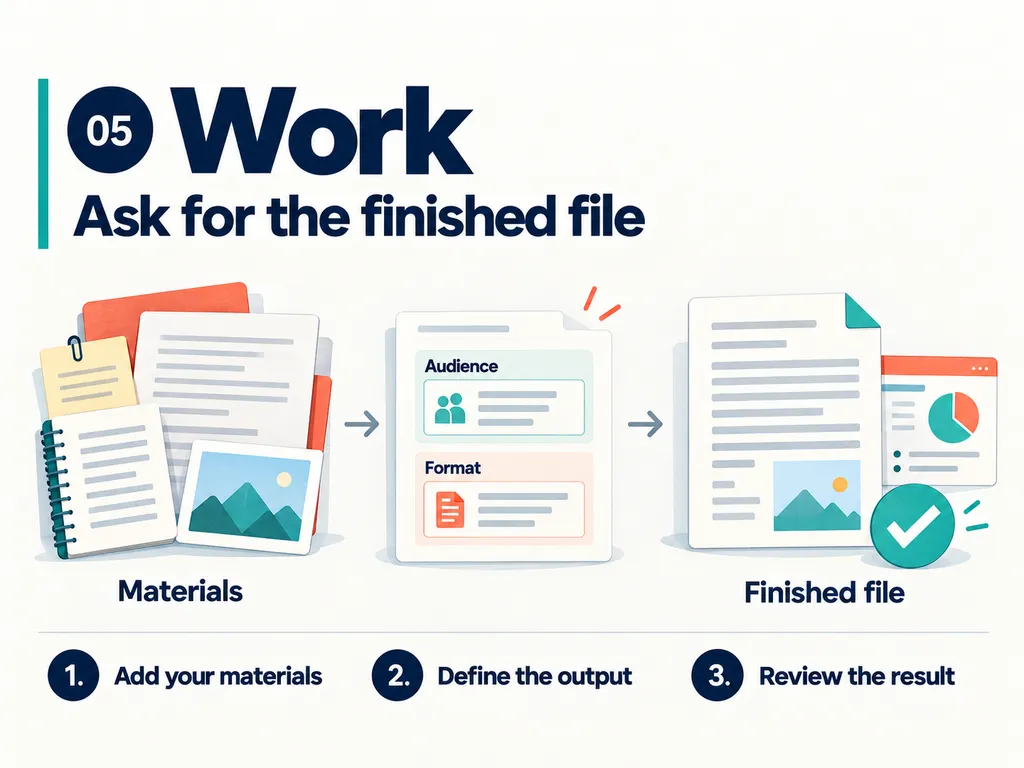
5. Work: Ask for the Finished File
Work can use available files, plugins, and approved tools to complete a task with a clear result.
Give it the material and describe the file you need.
For example:
Turn these notes into a seven-day Excel content calendar.
Use It
- Start a chat in Work.
- Attach your notes, files, or approved research.
- Select Astra if available.
- Specify the audience, file format, sections, and limits.
- Review the finished file.
If the task needs a connected app, install its supported plugin and complete the connection it requests.
Prompt 8: Create a Deliverable
Use the attached [notes, files, or approved report] to create [deliverable] for [audience].

Purpose: help them [specific outcome].

Output: [file type], with [sections or length].

Use only these sources unless I ask for further research.

Preserve names, dates, and numbers. Mark unsupported claims.

Check the final file for missing sections, layout problems, and broken links.

Return the finished file and a short list of items I need to review.

Stop before publishing, sending, or changing any external account.
Example
Attach your content notes and request:
Create a seven-day Excel content calendar. Include the topic, hook, format, source link, and next action for each post.
Use your real notes so the result reflects your audience and business.
When reviewing a file, give specific feedback:
Shorten the introduction, correct the price using the attached source, and increase the table text size.
The Full Process: Turn One Topic into a Reel and a Useful Resource
Here is a complete example for a creator or online business owner.
The goal is to produce one useful Reel and the resource you promise in its comments.
Step 1: Prepare Your Material
Define your audience and the problem you want to help them solve.
Attach relevant notes, customer questions, or a document. Use Prompt 4 to find the useful points in that material.
Step 2: Research the Topic
Enable Deep Research when you need current information or evidence from several sources.
Prompt 9: Find a Useful Question
Research the 5 questions beginners ask about [topic] for [audience].

Use recent official or original sources where the information can change.

Return a table with:
- Question
- Source link
- Useful answer
- Any uncertainty

Recommend one question that can be answered clearly in a short Reel.

Do not invent search volume, demand statistics, or audience quotes.
Step 3: Choose One Problem
Review the research and select one question.
Choose a problem your audience recognizes and an answer you can support with the material you have.
Step 4: Create the Reel and Caption
Prompt 10: Draft the Content
Using only the selected question and the approved research above, draft a 30-45 second Reel in English.

Start with the problem and the useful result.

Give 3 concrete actions. Keep sentences short.

Do not invent experience, results, or time-saving claims.

End with:
"Comment [keyword] and I'll send you the full process."

Return the script and a caption with that CTA on the first line.
Read the script aloud. Remove anything that makes it too long or difficult to follow.
Step 5: Create the Promised Resource
Start or continue in Work using the approved research and script.
Prompt 11: Make the Handout
Create a 2-page PDF handout from the approved research and Reel script above.

Audience: [audience]
Title: [title]
Brand: [brand name or handle]

Include:
- What to prepare
- The exact steps
- One copyable prompt
- How to check the result

Include source links for factual claims.

Keep the text selectable and use readable type.

Check the layout before returning the finished PDF.

Stop before publishing or sending it.
If you start a new chat, attach the approved research and script again. Do not assume another chat can access every earlier file.
Step 6: Review Both Outputs
Prompt 12: Check the Final Result
Review this draft or file against the original request and source material.

Flag unsupported claims, altered numbers, missing steps, and unclear instructions.

If it is a document, also check page layout and link targets.

Fix what you can verify. List anything that still needs my judgment.
Check that the resource delivers what the Reel promises.
Publish after both are ready.
Measure How Much Time You Save
Compare similar tasks.
Record the time a task takes manually. Then record your active time when using AI, including:
- Preparing the material
- Writing the request
- Making corrections
- Reviewing the output
Keep waiting time separate when you can use it for other work.
| Task | Manual minutes | Active minutes with AI | Minutes saved |
|---|---|---|---|
| Explaining project context | |||
| Analyzing a document | |||
| Researching a comparison | |||
| Drafting and formatting a file | |||
| Total |
Minutes saved = manual minutes − active minutes with AI.
Include setup time in your first run. If a task takes longer with AI, keep that result in your record.
Repeat the comparison before drawing a conclusion. For occasional research tasks, measure savings per task or per week.
If Something Is Not Working
| Problem | Next action |
|---|---|
| Astra or a feature is missing | Check the models, app, account, and workspace access available to you. |
| The output is too generic | Add your audience, source material, expected sections, and an example of a useful result. |
| ChatGPT misses important context | Paste the relevant brief into the current task. |
| A number or claim looks wrong | Request the exact source location and check the original. |
| The file is difficult to read | Identify the page or section and request a specific layout correction. |
Start with one repeated task. Give ChatGPT the material, define the result, and check what it produces.
Follow @solbizlab for practical AI tips for work and online business.
Official Sources
Feature descriptions and setup paths were checked against OpenAI documentation on October 4, 2026. Availability and menus may change. The prompts above are practice templates created for this guide.